Part I: Skiing Mt. Moran's Skillet (Attempt) – Training
From huffing and puffing up 1,400’ vertical of Snow King in January to a single-push, 21-mile, 5,000’ vertical attempt at the Skillet (“the biggest backcountry line in the US”) by April. (We stopped 1,000’ vertical short of the summit due to weather and daylight.)
Parts I and II of this series break down the Skillet, my training/education process and the trip report. If you're trying to figure out if ski touring is for you, start with this article. If you're an experienced skiier looking for a trip report, skip to Part II.
Caution: Between avalanche risk and winter weather, backcountry skiing ranks among the more dangerous outdoor sports, demanding careful preparation.
- Part I (this article): Context on the route and my training / education process.
- Part II: Trip report, including planning steps and a gear list.
- Backcountry Skiing 101 for how to get started without breaking the bank.
Note: I may get commissions for purchases from certain links in this post.
What’s the Skillet?
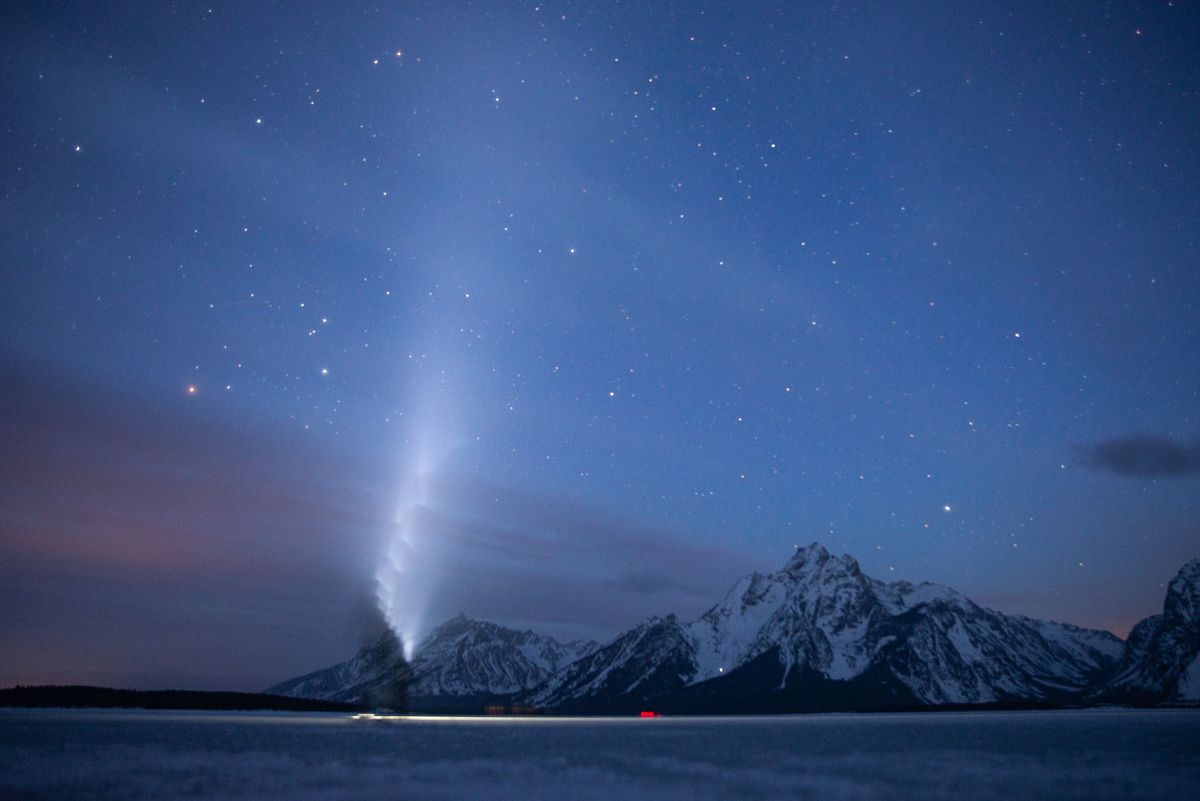
It’s a 5,730’ backcountry line, starting with a chute off the summit of Mt. Moran (12,610′) in the Tetons and ending with a bushwhack to Jackson Lake. With the Park Road closed until May 1st, the most common winter approach is a 6-mile skin across Jackson Lake from Colter Bay on the east side of the Lake.
The Skillet is one of the fifty-classic ski descents of North America – check out Cody Townsend’s video to watch experts tackle the route.
Lou Dawson’s rating:
- Route Length VI: “Usually require a night out or a huge push.”
- Descent D14: “Terrain more difficult, steep sections longer. Steepest section probably around 50 degrees.”
- Risk R3: “Route probably has sliding fall potential if snow is firm, moderate amount of obstacles or features that could cause injury, or moderate exposure to rockfall, tributary avalanches and other dangers.”
For reference, Grand Teton’s Ford-Stettner Couloir is rated IV D16 R4 and the Middle Teton’s Glacier Route is V D19 R4 on the same scale. Mt. Moran’s Skillet involves a longer push, but less consequential / technical skiing.
Interested in a Backcountry Ski Primer?
Check out my 101 article on risks involved, necessary gear / education, training and tour planning. (Condensed overview of avalanche risks / resources below.)
A Few Disclaimers
- I didn’t start at absolute zero. Winter 2020-21 was my first backcountry season, including an Avy 1 course. Aside from one “Park” tour (Grand Teton N.P.) and a few boot-packs at the “Resort” (Jackson Hole), the season was 95% resort.
- Our 2022 Skillet attempt wasn’t my most dialed backcountry trek, but it was a decent uphill test. With the vertical we achieved on a one-day push, adding an overnight plus clear weather would’ve made for a very doable summit.
- I’m still very green when it comes to ski touring. It takes years of experience, training and reflection to build a backcountry knowledgebase. Some training up next: wilderness first responder course, rock / ice skills and more snow science.
Training and (Ongoing) Education
Returning to Jackson in early January after a fall on the east coast, I told a friend I wanted to ski Middle Teton. He laughed in my face. (Rightfully so.) In response, I did more homework, assessed my fitness / skills against prerequisites for a big tour and started training with a more reasonable objective: Mt. Moran’s Skillet.
The Skillet involves a huge push, but less consequential skiing – still plenty dangerous, but at least you’re not traversing above 1,000'+ cliff bands.
I framed preparation across three factors:
- Fitness to power through uphill's and safely ski technical terrain.
- Downhill skills to navigate natural unconsolidated snowpack, which skis very different from consolidated (heavy traffic) resort snow and no-fall terrain.
- Education to manage avalanche risk through planning, monitoring in the field, and if all else fails, coordinating a burial rescue and extraction.
My starting point for winter 2021-22:
- Fitness: Began running again in December at 10-minute mile pace for 5 miles (overuse knee injury from the prior summer prevented fall running); consistent strength workouts all fall – squats, deadlifts, benching, pull-ups, etc.
- Downhill skills: Able to ski almost all runs at Jackson Hole, albeit conservatively in the most difficult terrain; limited experience with deep powder and variable snowpack.
- Education: Avy 1 course and a few side-country days in the prior winter; significant summer backcountry experience from prior seasons.
Fitness
Hiking up mountains is the best training for a long uphill like the Skillet.
Jackson, WY, has a ski hill in town called Snow King that serves as an avalanche-free training ground. 4-5 nights a week at 5-6pm, I skinned or boot-packed 1,400’ vertical to the summit with my airbag pack for weight, then headed to the gym for strength training and a hot tub soak / stretch. By mid-February, I knocked my ascent from 50 to 35 minutes, translating into 7:30-minute miles on 5-mile runs.
Training aside, the summit views of town and the Tetons on a clear night justify the hike. It gets repetitive after 20 climbs, but earlier in the season, I was blown away each night.
When Snow King got repetitive, I mixed in solo Mt. Glory hikes, a popular boot-pack starting at the top of Teton Pass, on low avalanche risk days (January / February 2022 included the least snowy period since 1992). And throughout the season, I toured Teton Pass with partners on low to considerable risk days, largely Mt. Glory (Glory Bowl, Second Turn, Calvert's Ridge, etc.) and Edelweiss Bowl, sticking to trees on the few higher risk days.
Caution: Anything outside resorts is side / backcountry terrain and requires avalanche gear / training.

In early March, I tested my uphill training on Table Mountain, a summit ~2 miles west of the Grand that’s accessed from the Idaho side of the Tetons. The round trip was 16 miles with a 4,500’ vertical ascent, a good test run for the Skillet’s 21 miles and 6,000’ vertical. (Mileage includes descents.) We successfully summited, but were running on fumes by the final skin
Learnings from Table: More calories, hydration and caffeine, plus lightweight tech bindings. I breezed through the boot-pack, but lagged on the skins with frame bindings.
Read a full trip report for Table Mountain here.
In terms of strength training, I followed a simple four-day split: legs, chest, back and shoulders, emphasizing compound movements with free weights like squats, benches / dips, chin-ups / deadlifts / rows and overhead presses. Weight from skis, boots and a full pack adds up on long ascents, so it’s important to build a strength reserve—running marathons doesn’t translate directly to ski touring.
For a much more comprehensive deep dive on training, check out Training for the New Alpinism. In general, higher maximum lifts translate into less utilized capacity with each movement, extending time to exhaustion (more endurance).
Note:
- I completed all uphill training with frame bindings (the whole heel plate rises, allowing for touring with non-tech boots) that are much heavier than tech bindings. A pound on your feet equals five on your back, so while frames worked for training and short tours, I wanted proper tech bindings for a big tour, which I picked up just before the Skillet.
- Shift bindings, a popular starter option that combines uphill pins with traditional alpine toe piece for the downhills, have a reputation for early releases, so the best option is pure tech bindings. But, they’ll take getting used to (resort test runs help).
- Due to self-rescue realities, most people shouldn’t ski so aggressively in the backcountry as to need traditional alpine binding performance.
Downhill skills
I started skiing at age eight, but just a couple trips a year on the east coast. In my experience, the best skiers generally grew up as park rats or ski racers (I’m neither). I pushed myself during winter 2020-21 (my first full winter out west) skiing Jackson Hole, Grand Targhee and Snow King ~40 days combined, focusing on the most challenging runs at each.
For winter 2021-22, I skipped season passes and bought Mountain Collective (two days at 20+ top resorts, including Jackson Hole and Targhee), planning to spend more time in the backcountry. I also bought a Snow King uphill season pass.
A few specific skills I wanted to build in winter 2021-22:
- Variable snowpack – natural snowpack is more inconsistent than resort slopes that get consolidated from heavy traffic.
- Deep powder to practice bounce turns.
- Dense trees for mandatory bushwhacks common when terrain levels out.
- Steep and narrow to prepare for consequential 45/50-degree slopes.
In addition to local days at Jackson Hole / Targhee / Snow King, one Big Sky trip and tours off Teton Pass, I was fortunate to take a two-week road trip through the Canadian Rockies, skiing Banff Sunshine, Lake Louise, Kicking Horse (awesome resort loaded with boot-packs) and Revelstoke. I also snuck in a tour off Icefields Parkway in Banff National Park. At resorts, I spent most of my time on steep, narrow runs and in glades.
- Comfort with variable snowpack largely came from tours off Teton Pass and the Icefields Parkway, learning to be light on my feet and edge less.
- For deep powder, I practiced bounce turns with skis tight for floatation (again, less edging) on powder days in Canada. (I was hoping for more local powder days, but it was a tough snow year in the lower 48.)
- In tight trees, I focused on finding line between them. (Where the head goes, your body follows.)
- On steep stuff, I practiced hop turns light enough on my feet to handle surprise rocks. (Hop turns were generally unnecessary, but I wanted muscle memory.)


When I finally picked up a used pair of touring skis with tech bindings in early April, I tested them at Grand Targhee, hitting crunchy north aspects (choppy on light skis), steeper chutes and south-facing corn snow. They weren't as damp as my Liberty’s, but generally handled well.
Note:
- You’ll never ski as well after a big ascent as you do at the resort, so factor in some margin for safety when planning the downhill route.
- Touring skis / bindings / boots don’t ski as solid as a resort set-up. I found myself longing for my Liberty freeride skis with frames on the Skillet descent.
Education
Avalanches kill experienced backcountry skiers every season. When you’re fully buried in an avalanche, it’s impossible to move – snow firms up like concrete when the slide stops. Assuming trauma from rock / tree impacts didn’t kill you, your partner has ~15 minutes to locate you (beacon / probe) and dig you out (shovel) before you die from CO2 poisoning.
To state the obvious, the goal of education is to avoid avalanches through planning and conservative decision making. But to prepare for the worst-case scenario, each member of your group needs to be able to efficiently rescue a buried partner, perform first aid and coordinate an extraction by search and rescue. (If buried, you’re entirely relying on your partner to save you.)
In the U.S., AIARE is the avalanche training standard with qualified instructors throughout the country. An “Avy 1” course is a 3-day introduction to snow science and avalanche rescue that should be a mandatory prerequisite for any side/backcountry travel. Next up is an Avy Rescue course emphasizing rescue drills and more complex scenarios like multiple burials.
Experienced tourers can then take Avy 2 and Pro courses, but a Wilderness First Responder (or the less comprehensive First Aid) course should be prioritized if not already in your quiver.
I took an Avy 1 in winter 2020-21, and refreshed that knowledge in winter 2021-22 by regularly monitoring forecasts and applying them on smaller tours off Teton Pass. Commonly skied regions have avalanche centers publishing daily forecasts (find Bridger Teton’s here). The only way to develop a deeper understanding of avalanches, especially scary problems like persistent weak layers, is to follow the evolution of a snowpack through regular review of avalanche forecasts in light of recent weather and field observations.
A few non-avalanche subjects I refreshed on before the Skillet:
- Re-reviewed each item in my medical kit and first aid best practices; supplemented kit with select items like 4x4 sterile pads.
- Snow cave and lean-to construction techniques for an emergency overnight.
- Ice rescue in the event we found weak spots crossing Jackson Lake.
- Bear safety due to grizzlies coming out of hibernation; Grand Teton populations have grown in recent years, especially around Moran Junction.
To recap, my ending point for winter 2021-22:
- Fitness: 7:30-minute mile pace for 5 miles; 35-minute pace for a 1,400’ boot-pack; strength PRs across a leg / chest / back / shoulders split.
- Downhill ability: Able to ski all runs at any resort, albeit conservatively in tougher terrain; more experience with deep powder and variable snowpack.
- Education: Avy 1 course, Avy Rescue course and regular monitoring of avalanche forecasts with application in the field on shorter tours, plus primers/refreshers on emergency shelters, first aid, lake rescue and bear safety.
And with those prerequisites, I felt ready for a run at the Skillet.
Check out Part II for the trip report.